


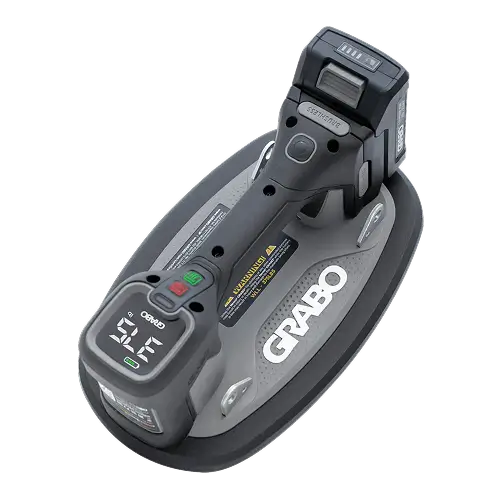
- GRABO Models
- Parts & Accessories
- 3rd-party Products
- Where To Buy


We stand behind our products! Our Tech support & Warranty team are here to help.
Problem? Call us!
+1 (775) 446 4113


BECOME A GRABO INSIDER
Signup to become a GRABO insider and learn about future release, new developments, engineering & product updates, offers and more.
Troubleshoot
This process helps identify and resolve issues with your GRABO® device, ensuring optimal performance. Follow our guide to resume work without interruptions.
Troubleshooting Guide
If you are having any issues with your digital display then please perform the following task to reset your digital display.
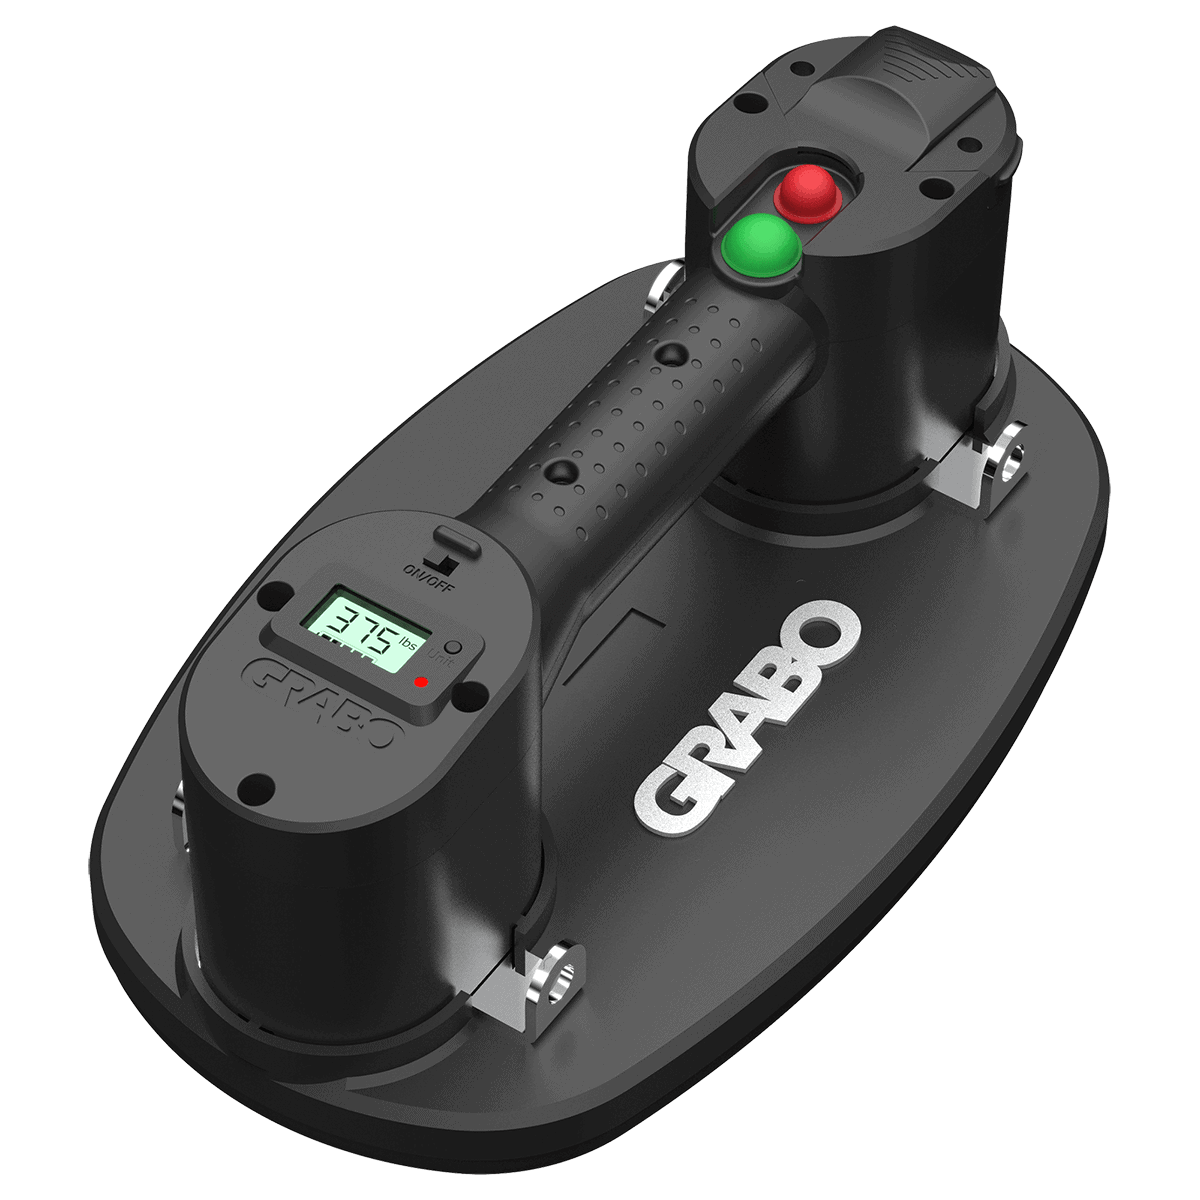
GRABO® Pro-Lifter 20 learning mode / recalibration mode :
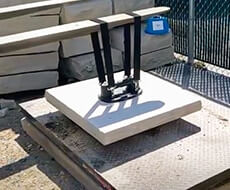
Place the GRABO® Pro-Lifter 20 on a non-porous surface such as a polished tile.
Slide the power ON/OFF switch in the ON position.
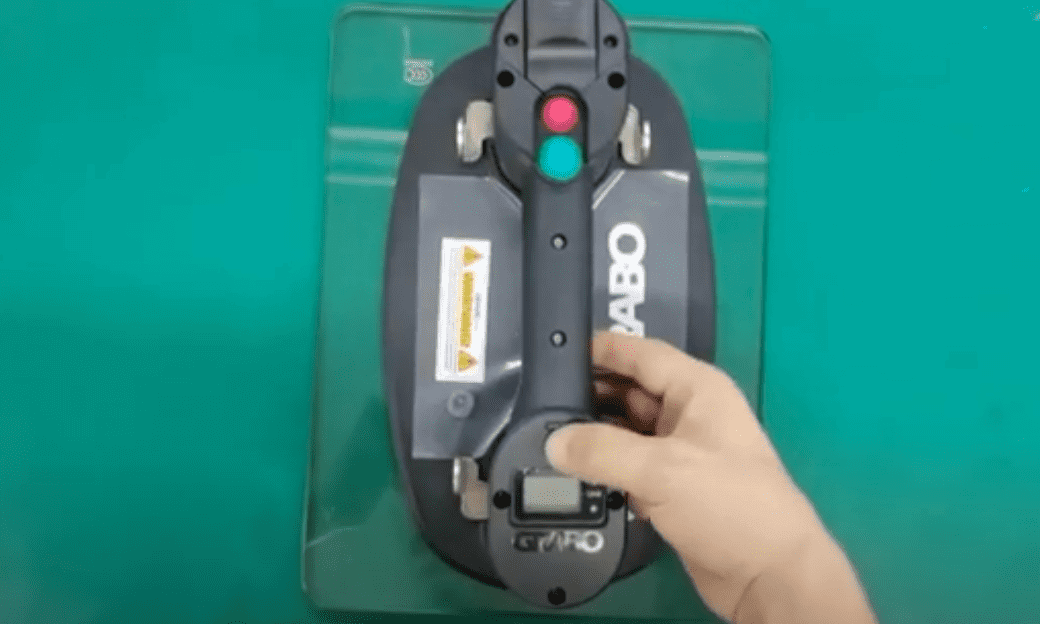
- Press the "measurement unit selector" for 10 seconds. When the red light turns green, release the "measurement unit selector"
- Wait about 5 seconds and the vacuum pump will start working. Let the device create full suction. If suction does not begin on its own, press the device downward to create a seal. Full suction is achieved when the digital display numbers have reached their highest point and don't continue to increase.
- When full suction is reached, press the "measurement unit selector" again for 3 seconds until the green light flashes and the pump turns off.
- Turn the device off and on again with the the power ON/OFF switch.
*The device is now calibrated and the values in the digital display window should be correct.
Important
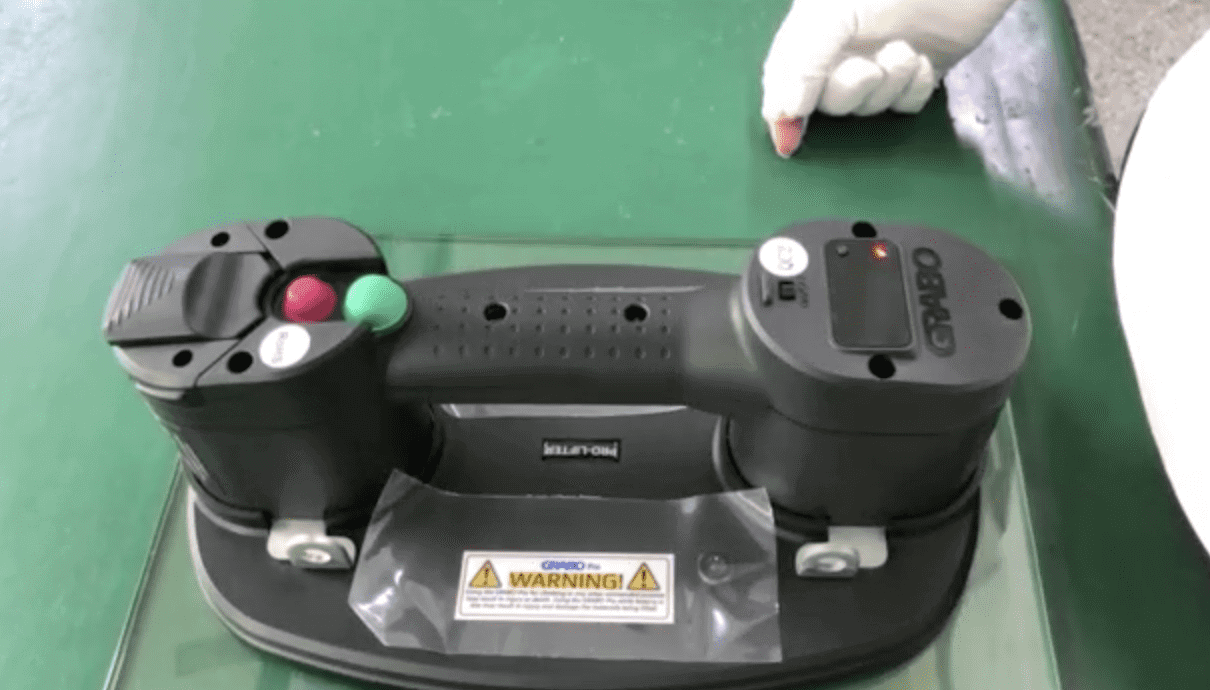
Important : The GRABO® Pro-Lifter 20 will display incorrect values on the digital display if the device is not calibrated on a non-porous surface such as tile or glass. If this occurs, the calibration process must be repeated on a non-porous material. DO NOT perform this process on glass that is thinner than 6mm. Damage can occur to glass that is thinner than 6mm.
Note: The reset procedures apply only to Pro units with flip switches. They will not affect Pro units with push buttons.
Operating the GRABO® PRO LED
- Slide the power ON/OFF switch into the ON position. The run status indicator lights up red and the digital display shows the amount of available charge and the current pressure. If the last bar of the battery indicator flashes red, the battery needs to be charged.
- Optionally, press the measurement unit selector to change pressure units from bar to psi and weight units from kg to lbs.
- Position the GRABO® PRO LED firmly against the surface of the object you want to lift.
- Press the green motor power button. The run status indicator flashes red. A seal is created within seconds. When the negative pressure reaches its maximum, the indicator turns green and the motor stops automatically.
- When done and the object is in a secure, stable position, press the green motor power button to stop the pump. Press the red vacuum release button to break the seal and release the object.
- Using the GRABO® PRO LED while the battery is low may result in injury and damage to materials. Fully charge the battery before use.
- When lifting materials with dusty, dirty, or moist surfaces, remove dust and dirt as much as possible. The device automatically cycles the pump on and off to maintain the pressure needed for safe lifting.
- For maximum safety, switch the display to weight units (kg/lbs) and compare displayed values with the weight being lifted. Do not lift any weight heavier than the value displayed.
- Continuous non-stop working time should not exceed 30 minutes.
Visual Indicators Guide
-
No light: The GRABO® PRO LED is turned off.
-
Continuously red: Device is turned on and ready for use, pressure is building up, or the pump is switched off.
-
Flashing red: Pump is switched on; pressure is low and building up.
-
Continuously green: Pump is switched on but the motor is off; pressure has reached its maximum capacity.
-
5 green bars on battery indicator: Battery is sufficiently charged.
-
Last bar of battery indicator flashes red: Battery capacity is low or empty — recharge before continuing.
Replacing the Rubber Foam Seal
- Pull out the rubber foam seal.
- Gently press a replacement rubber foam seal into position.
- Make sure that the replacement rubber foam seal fits correctly and securely.
Replacing or Cleaning the Air Filter
Clean the filter when dirty. The filter needs to be replaced when badly worn or ripped (at the customer's discretion). When lifting clean material, the filter lasts longer than when used on dirty or dusty materials.
- Turn the GRABO® PRO LED upside down.
- Use the tip of a screwdriver to remove the air filter lock ring and the air filter pad.
- Either clean the filter with compressed air, or insert a replacement air filter pad.
- Insert the air filter lock ring to secure the filter in place.
- Do not clean a dirty air filter with water. It may become clogged and unusable.
- A decrease in suction power indicates that the air filter needs to be cleaned and/or replaced. Check that the air duct is free from any obstruction or foreign objects during filter replacement.
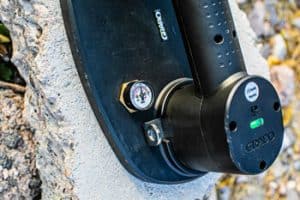
Charging and Changing the Battery
- Slide the battery latch to unlock the battery.
- Remove the battery.
- Connect the battery with the multi-socket battery charger to a wall socket.
- When the battery is fully charged, the battery bar indicator turns green.
- Disconnect the multi-socket battery charger from the wall socket and the battery.
- Put the battery back in the battery compartment.
- Press and slide the battery latch to lock the battery in place.
- Charge only with the charger specified by the manufacturer.
- During charging, the charger can become warm — this is normal.
- Only use the charger in a dry environment. The charger is not waterproof.
- Keep away from flammable objects while charging.
Maintenance
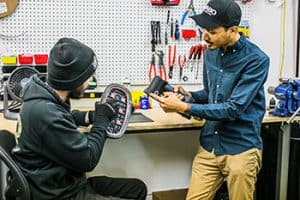
WARNING: Changes to the tool and technical modifications are not permitted. This can lead to injury. If the tool fails despite the care taken in manufacturing and testing procedures, repair must be carried out by an authorized after-sales service centre for the GRABO® PRO LED.
Operating the GRABO® PRO Brushless
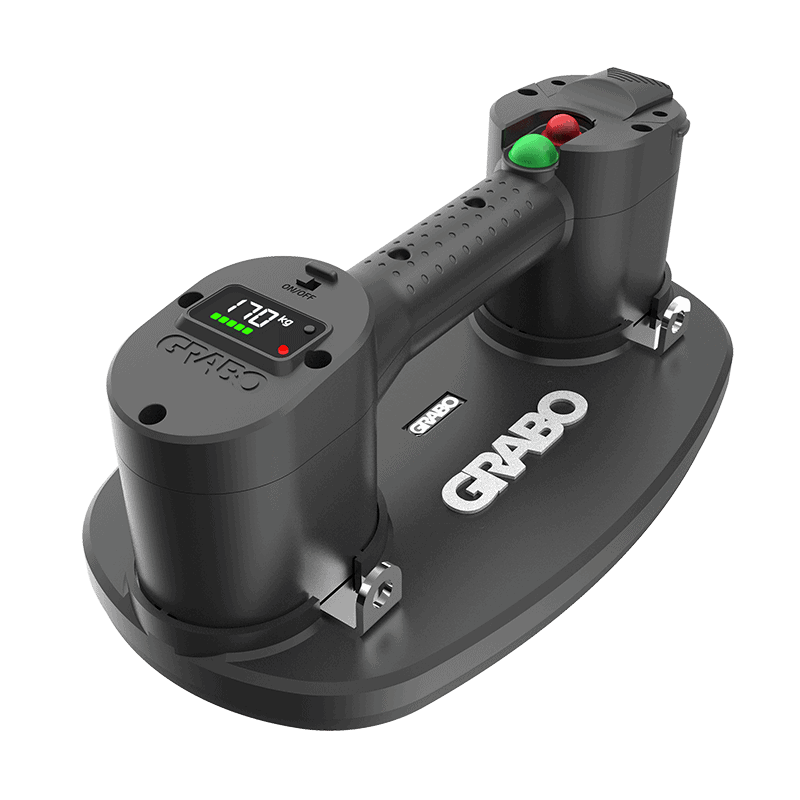
- Press the on/off power switch to turn on the GRABO® PRO Brushless. The digital display will show 0. Optionally, press the measurement unit selector to change units from bar to psi and from kg to lbs.
- Position the GRABO® PRO Brushless firmly against the surface of the object you want to lift.
- Press the motor power button to activate the vacuum pump. Four green lights on the digital display will illuminate in sequence as pressure increases to the maximum level. The pump will automatically stop when the pre-selected value is reached.
- The vacuum pump will automatically reactivate to restore vacuum pressure if it falls below the pre-selected value. The pump will run continuously if the material is too porous to achieve the required vacuum pressure.
- When done, press the motor power button to stop the pump, then press the vacuum release button to release the object.
- Using the GRABO® PRO Brushless while the battery is low may result in injury and damage to the materials being lifted. Fully charge the battery before use.
- DO NOT use on very thin or brittle surfaces such as glass thinner than 6 mm. Damage can occur to materials thinner than 6 mm.
- Continuous working time should not exceed 30 minutes.
Visual Indicators Guide
-
No light: The GRABO® PRO Brushless is turned off.
-
Flashing red (once per second): The GRABO® PRO Brushless is turned on.
-
Flashing red (three times per second): The pump power button is activated, but the vacuum value is below the set restart value.
-
Continuously green: The motor power button is activated and the vacuum value is at or above the set restart value.
-
Screen flashes three times: The pump is running and the ON/OFF switch was unintentionally turned off.
-
4 green bars on battery indicator: Battery is sufficiently charged.
-
Last bar of battery indicator flashes red: Battery capacity is low or empty — recharge before continuing.
Vacuum Level Settings
The GRABO® PRO Brushless allows you to set a vacuum threshold between -0.30 bar and -0.80 bar. The pump will automatically stop once the threshold is reached. Ensure the air pressure is at zero before entering the settings.
- Enter Settings: Press and hold the measurement unit selector for 3 seconds until the "SET" icon flashes on the display. Then press and hold the vacuum release button for 2 seconds until the "SET" icon stops flashing.
- Adjust Settings: Press the unit selector to select the desired pressure value. The pressure can be adjusted in increments of 0.05 bar, within a range of -0.30 to -0.80 bar.
- Exit Settings: The device automatically exits settings mode after 6 seconds of inactivity.
Pairing the Remote Control
To pair with a remote control
- Enter Pairing Mode: Press and hold the measurement unit selector for 3 seconds. The display will flash a "SET" icon. Then press and hold the vacuum release button for 2 seconds until the "SET" icon stops flashing. Ensure the air pressure is zero before starting.
- Start Pairing: Simultaneously press both the "pump on" and "pump off" buttons on the remote control. A beep will sound once pairing is successful. If no buttons are pressed for 6 seconds, the device will automatically exit pairing mode.
To unpair the remote control
- Simultaneously press and hold the "Pump Off" and "Release" buttons on the remote control.
- Within 6 seconds of releasing those buttons, press and hold both the "Pump On" and "Release" buttons together to finalize the unpairing process. Two beeps will sound once unpairing is successful.
Low Battery & Lock Mode Alarms
- If the voltage is below 17.5 V at startup, the display will flash, the motor will not start, and the tool will enter Lock Mode.
- If the voltage drops below 17 V during operation, the buzzer will sound once every 2 seconds and the display will flash.
- If the voltage drops below 16 V, the buzzer will sound four times per second and the display will flash.
- If the voltage drops below 15 V, the motor will stop, the buzzer will sound four times per second, the display will flash, and the tool will enter Lock Mode.
- If the air pressure drops by more than 0.05 bar within 5 seconds during operation, the buzzer will sound three times every 2 seconds and the display will flash.
- If the air pressure is zero and the device is in standby mode, it will automatically shut down after 15 minutes of inactivity.
Warning: When the low battery chime sounds and the digital display flashes, immediately set down and secure the load being carried. Failure to do so may result in the lifter releasing the load, which could cause serious personal injury and damage to the material being lifted.
Working Modes
- Operating Mode: The pump operates when the motor power button is pressed.
- Standby Mode: The pump is idle and the motor is not enabled.
- Lock Mode: The motor cannot be started. To exit Lock Mode, resolve the issue that caused it (typically low battery) and restart the tool.
Replacing the Rubber Foam Seal
- To remove the worn rubber foam seal, insert the hook into the buckle hole on the seal and gently pull.
- Gently press a replacement rubber foam seal into position.
- Make sure that the replacement rubber foam seal fits correctly and securely.
Replacing or Cleaning the Air Filter
Clean the air filter when dirty. The filter needs to be replaced when badly worn or ripped. When lifting clean material, the filter lasts longer than when used on dirty or dusty materials.
- Turn the GRABO® PRO Brushless upside down.
- Use the tip of a screwdriver to remove the air filter lock ring and the air filter pad.
- Either clean the filter with compressed air, or insert a replacement air filter pad.
- Insert the air filter lock ring to secure the filter in place.
- Do not clean a dirty air filter with water. It may become clogged and unusable.
- A decrease in suction power indicates that the air filter needs to be cleaned and/or replaced. Check that the air duct is free from any obstruction or foreign objects during filter replacement.
Charging the Battery
- Slide the battery latch to unlock the battery.
- Remove the battery.
- Connect the battery with the battery charger to a wall socket.
- When the battery is fully charged, the LED on the charger turns green.
- Disconnect the battery charger from the wall socket and the battery.
- Insert the battery back into the battery compartment on the tool.
- Ensure the battery is securely installed.
- Charge only with the charger specified by the manufacturer.
- Only use the charger in a dry environment. The charger is not waterproof.
- Keep away from flammable objects while charging.
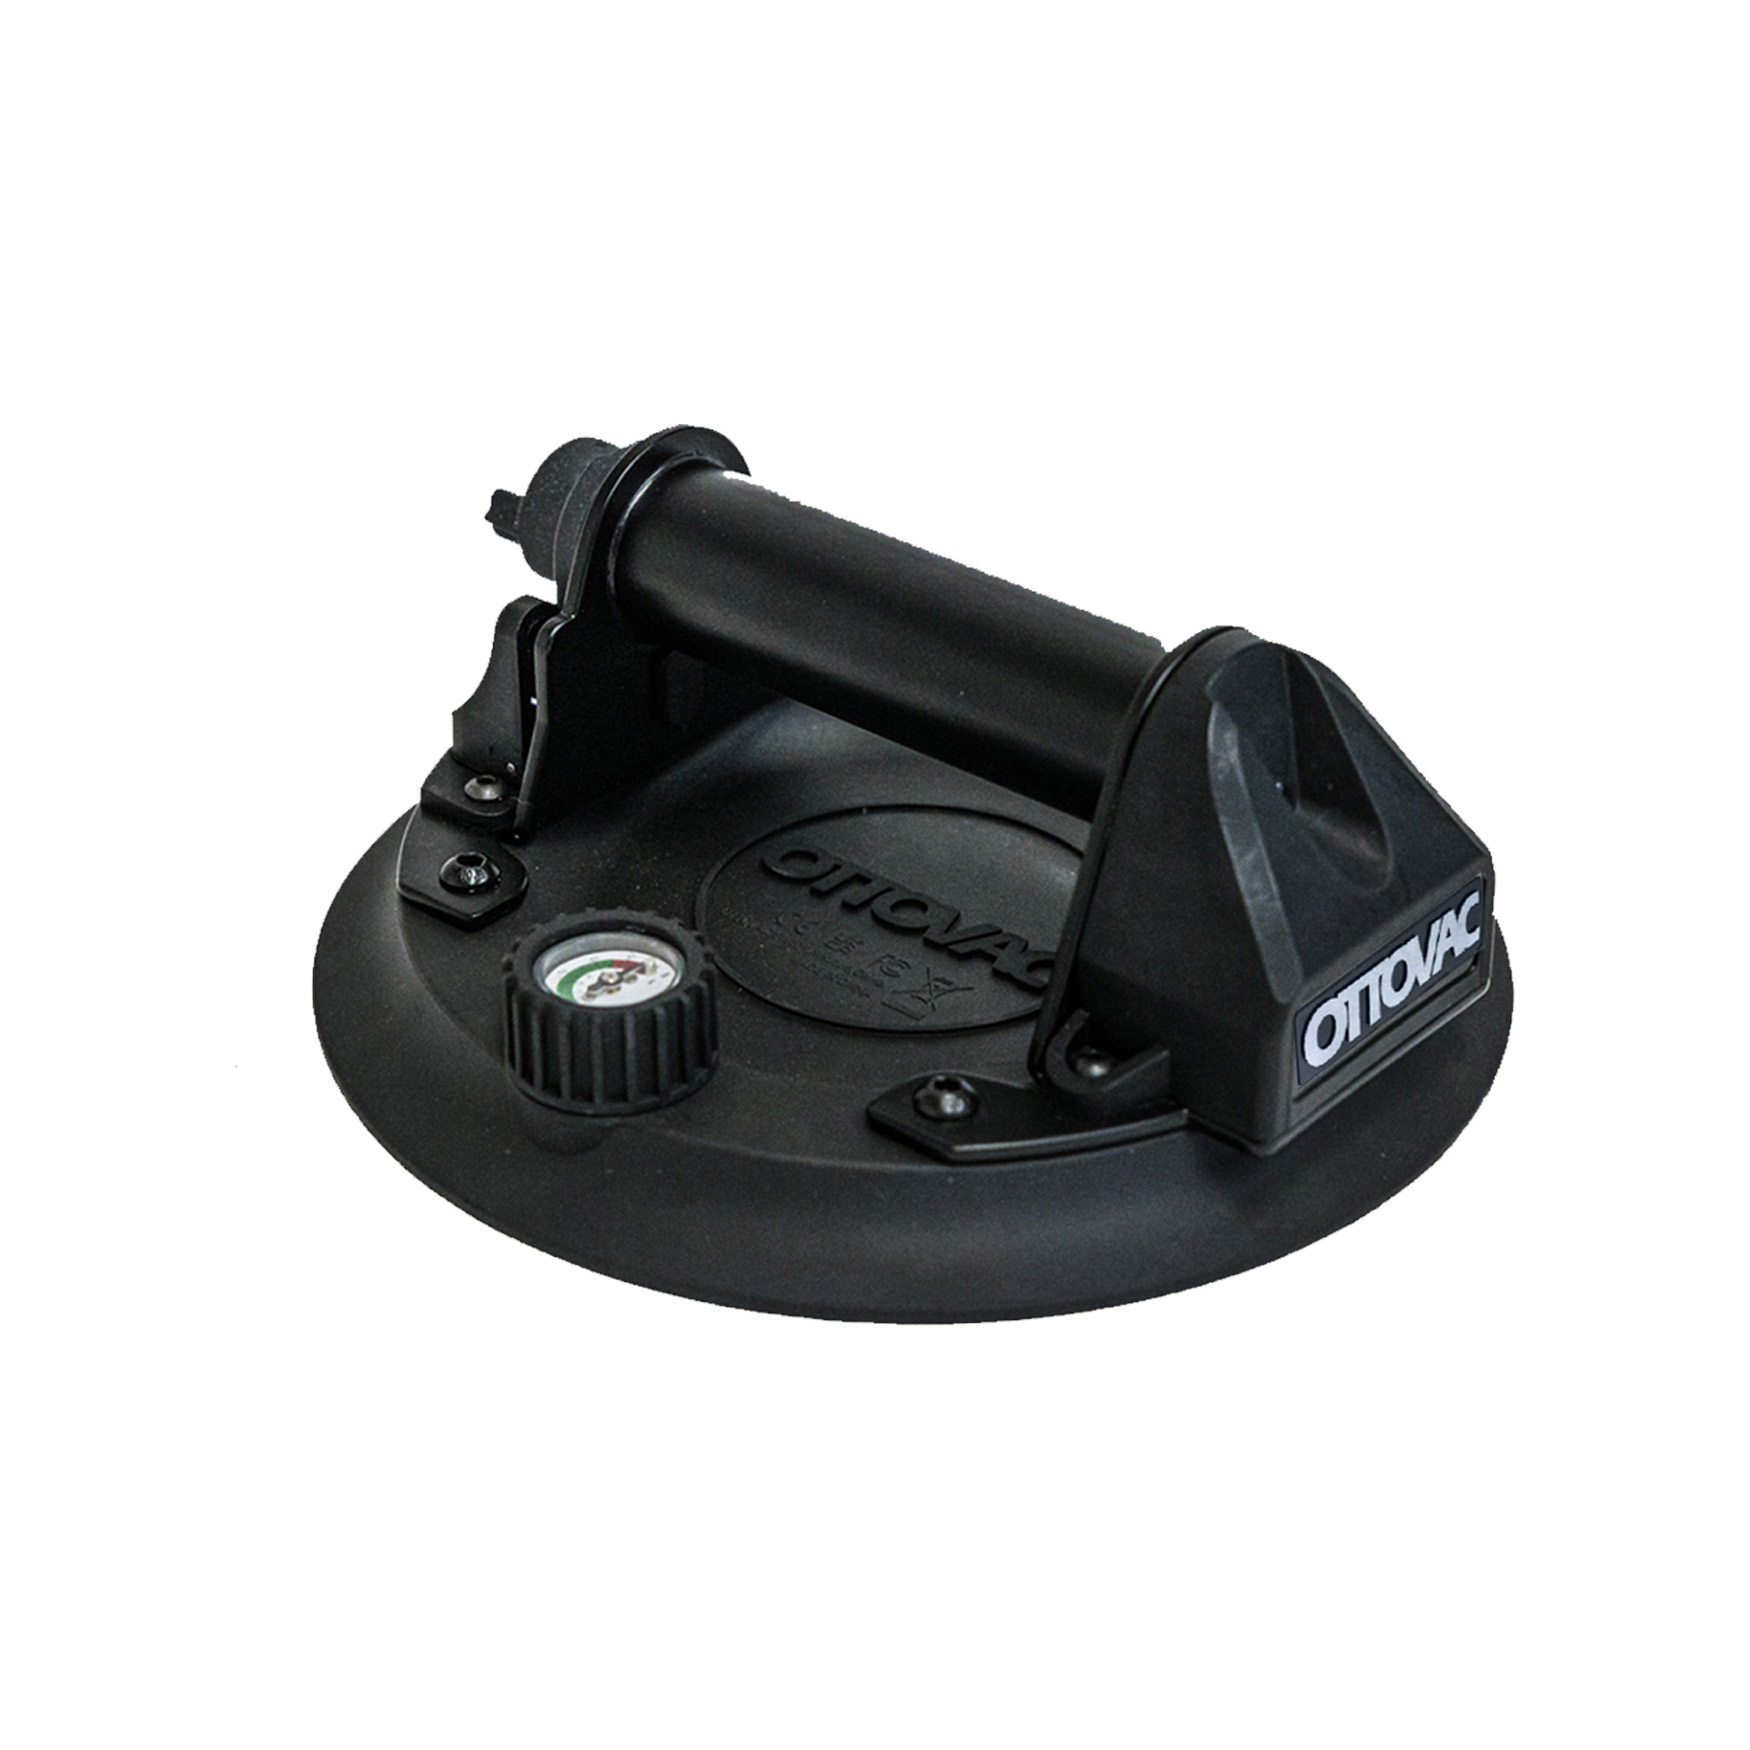
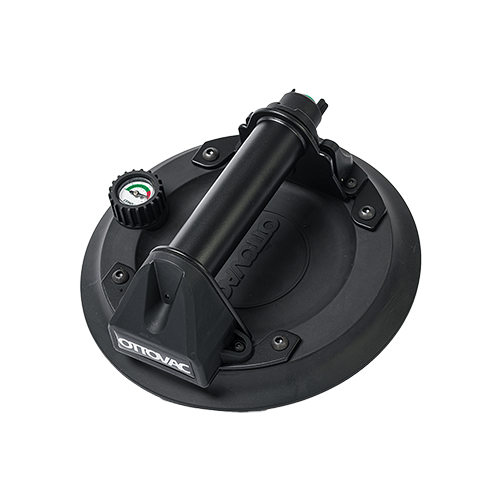
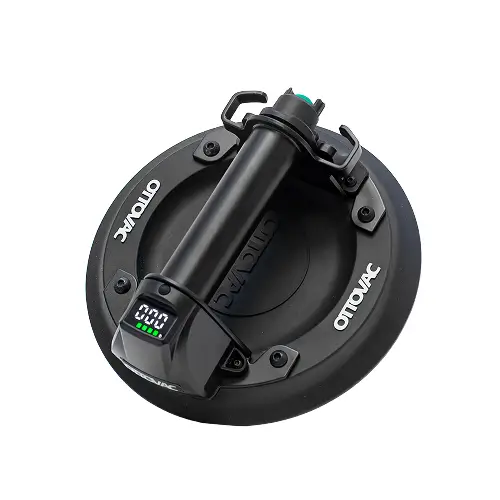
Operating the OTTOVAC
- Position the OTTOVAC firmly against the surface of the object you want to lift.
- Press the power ON/OFF button to turn on the motor and create a seal on the surface of the item you want to lift. The indicator light will flash green when the motor is running. The seal will be created within seconds.
- When the sensor detects that maximum pressure is reached, the pump will automatically turn off. For the automatic pump to work, ensure the motor is turned on (the indicator light is solid green) when lifting objects.
- When finished, press the power ON/OFF button to turn off the motor.
- Press the Pressure release button to break the seal and release the object.
Warning: When the batteries are low, the indicator light will flash green and red. Using the OTTOVAC while the batteries are low may result in injury and damage to the materials being lifted. Always use fully charged batteries before operating the OTTOVAC.
LED Indicator Guide
-
Flashing Green: The pump is building pressure — normal operation.
-
Solid Green: Maximum pressure reached. The device is ready to use.
-
Flashing Red (50–60°C): Device is overheating. Move to a cooler area and allow it to cool.
-
Solid Red (above 60°C): Device is too hot and will not operate. Wait for it to cool down.
-
Alternating Green & Red: Battery is low. Charge or replace the battery.
Inserting and Changing the Battery
- Press the Battery compartment release button to release the AA Battery compartment or Li-ion battery.
- Insert 4 x AA alkaline batteries (not included) in accordance with the markings on the AA Battery compartment or Li-ion battery. If you do not adhere to the markings, the OTTOVAC will not work.
- Put the Li-ion battery or the loaded AA Battery compartment back into the OTTOVAC.
- Press the Power ON/OFF button to turn on the OTTOVAC.
- The Li-ion battery or the loaded AA Battery compartment will not eject automatically when no batteries are inside. Press the Battery compartment release button and pull the compartment out when you insert the batteries for the first time.
- Only use genuine batteries from major brands.
- Take the batteries out when the device is not in use to avoid battery leakage and corrosion of the circuit board.
If Suction Force Decreases
If the sealing force decreases while the battery is fully charged, inspect the rubber seal for wear or damage.
Clean the rubber seal with methylated spirit (denatured alcohol).
Replace the rubber seal if it is visibly worn or damaged.
Weight may drop without warning if the safety precautions are not met. The OTTOVAC creates a strong vacuum. If the seal is broken or the allowed weight is exceeded, failure happens suddenly and without any sensory warning. All safety precautions must be observed at all times.
Air Filter Replacement
The filter needs to be replaced when it is badly worn or ripped (at the customer's discretion). When lifting clean material, the filter will last longer than when used on dirty or dusty materials.
- Turn the device upside down.
- Use a screwdriver tip to pry out the old air filter.
- Push the replacement filter firmly into place until fully seated.
Maintenance
CAUTION: Under no circumstances should the OTTOVAC be opened for repairs or any other purpose by anyone other than an after-sales service technician authorised by Nemo Power Tools Ltd. Opening the OTTOVAC will invalidate the manufacturer's warranty.
- Keep the rubber pad clean at all times to ensure a proper seal.
- Clean the rubber pad with methylated spirit (denatured alcohol).
- Do not expose the device to direct sunlight for extended periods.
- If the OTTOVAC does not function properly, the cup face may be dirty, or the suction cup may require servicing. In this case, contact our customer service department or an authorised dealer for assistance.

Become a GRABO Insider
Want the latest news on new GRABO electric lifter technology? Get access to priority updates and other exciting bonuses now.